Ski Crampons for Backcountry Skiing and Riding
With warm temps and long days becoming status quo in the North Cascades, I’m transitioning my ski kit over to spring mode. Once the melt freeze cycle takes hold, one thing I’ve always got on me is a set of ski crampons for backcountry skiing or riding.
These nifty, little tools can transform an icy skin track or frozen slope from a slippery nightmare into a pleasant stroll. Ski crampons add security to your skis or splitboard while skinning by penetrating the top few centimeters of the snow under the toe of your boot to help prevent slipping backwards or having your edges skate out while side hilling. Here are 5 tips for getting the most out of your ski crampons:
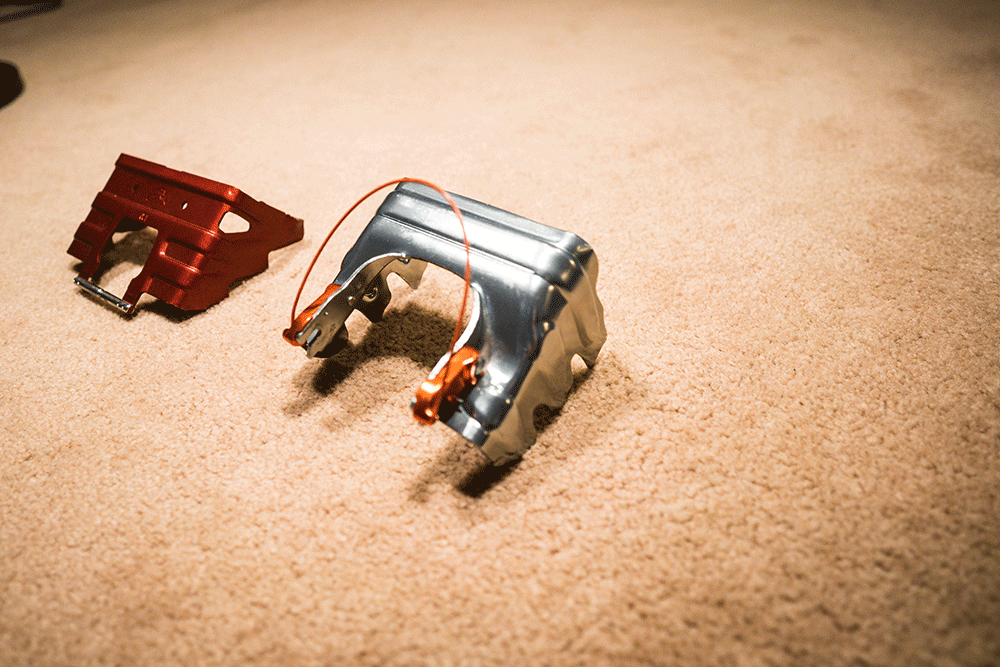
1. Get The Right Pair
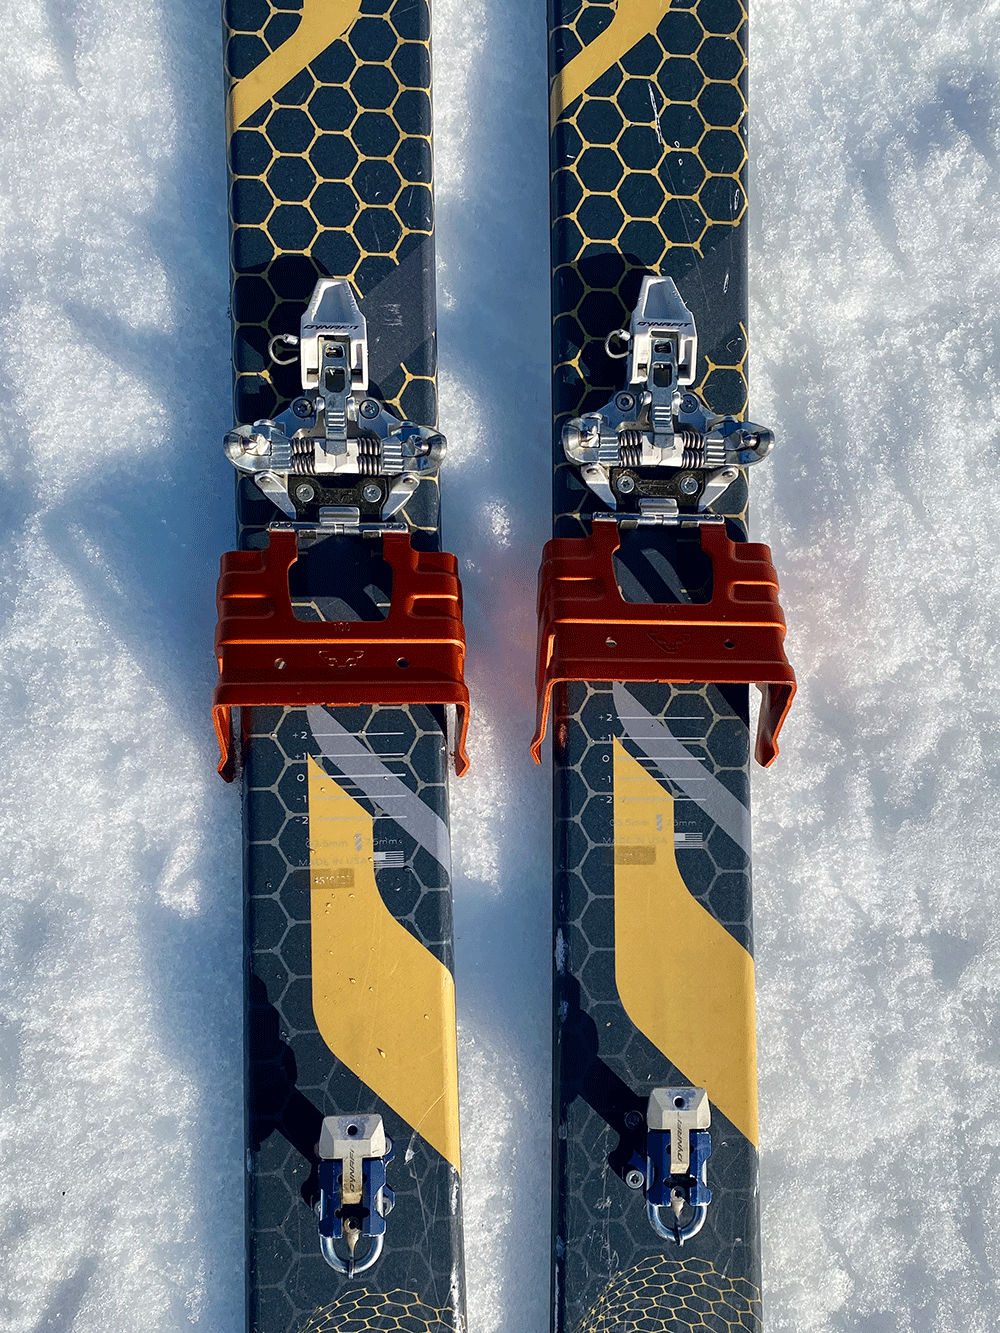
Ski crampons are specific in type to your binding, and in size to your ski or board. First, check with your binding manufacturer about what crampons to get. Many companies have their own system for their bindings. Size wise, they should be the smallest size possible while still being bigger than your ski waist. They usually are sold in 10mm increments, so, for example, if your skis are 96mm underfoot you should get a pair of 100mm crampons.
For splitboarders, Spark R&D and Karakoram make splitboard specific crampons. These work the same as ski specific crampons, but are wider to accommodate board width/asymmetry.

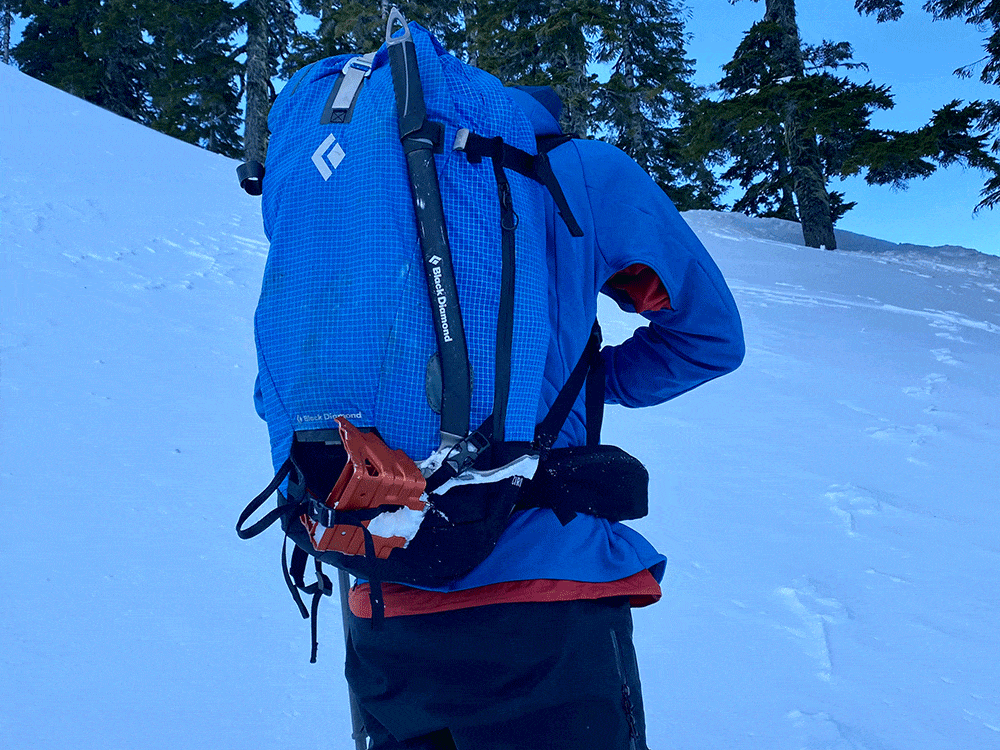
2. Have Them Handy
If I think that I might use my crampons, I keep them somewhere I can reach without taking off my pack. I recommend either clipped to a carabiner on your waist belt or clipped to your pack in a reachable spot. Then, if you need to put them on somewhere awkward, you don’t have to worry about your pack sliding away on the icy snow surface. Putting these bad boys on usually takes two hands, unless you have G3’s bindings and Ion Ski Crampons… then you don’t even need to take off your skis.
3. Put Them On (Right) Before You Need Them
Anytime I’m skinning on ice snow I put on my crampons before the slope gets steep. This prevents having to take my skis off anywhere exposed. That said, don’t have them on all the time because they inhibit your ability to glide on lower angle terrain.
4. Leash Your Skis
There are many reasons to put leashes on your skis in the spring. Ski brakes don’t do so well on icy snow, many lightweight ski mountaineering bindings don’t even have brakes, and losing a ski is a bummer at best and could be dangerous for yourself or others below. Since you need to take your skis off to put most crampons on, leash ‘em up!
5. Get The Best Grip
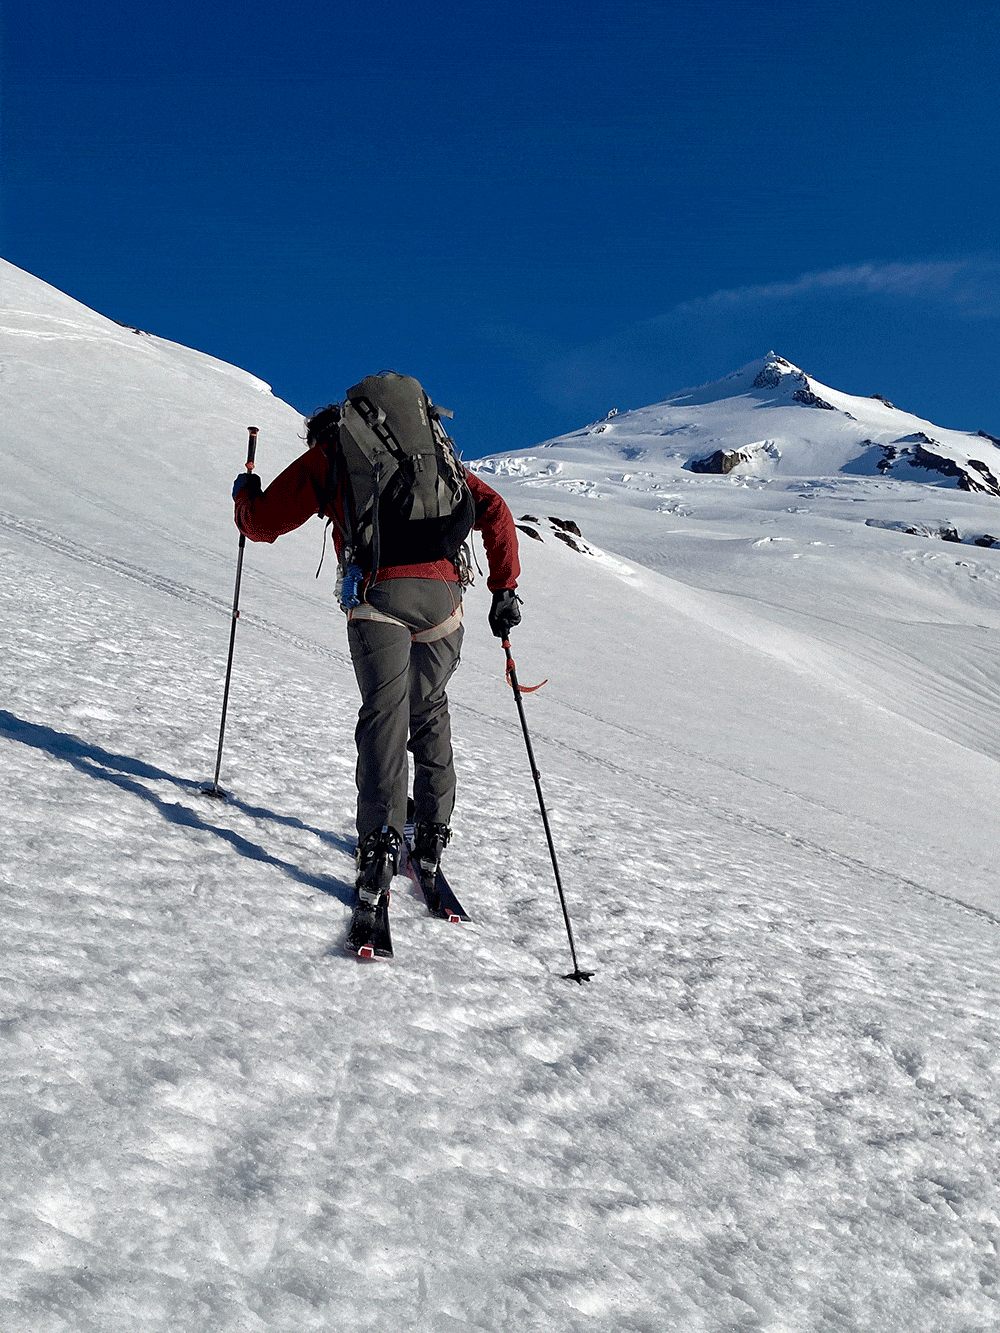
There are two important tricks to get the most purchase out of your ski crampons. The first is to not use any heel risers. This allows your boot to push the crampons as far into the snow surface as possible. It also encourages taking an efficient low angle route. The second trick is to try to keep your skis flat on the snow surface, with your downhill edges dropped toward the snow. This allows both sides of the crampons to dig in, not just the uphill points. This may feel awkward at first but you’ll get used to the motions and will love the added security.
Spring is a great time to do big days and cover some serious ground on firm morning snow on your way to harvest sweet corn. Ski crampons will add efficiency to your ascent and help you save all possible energy for ripping back down to the car. Practice putting them on at home first so your system is dialed before you get out, and enjoy the satisfying crunch of your ski crampons punching through the snow on the way to the top!
Want to learn more? Check out our Ultimate Guide to Backcountry Skiing.