Backcountry Skiing
Skinning Techniques
Backcountry Skiing Skinning Techniques
Backcountry skiing is much more enjoyable once you understand how the equipment works and the skinning techniques that maximize your gear’s potential. This post walks you through some general skinning techniques, uphill techniques, and transitions.
General Techniques
Baby Steps
Unless you’re traveling on relatively flat terrain where you can get good glide, taking small steps will be much more efficient and easier on your body. Melanie Bernier explains in the video below.
Stand up Straight
As much as possible, try to stand up straight as you skin — especially on the uphill. If your weight gets too far forward, you’re more likely to slide out and fall backwards.
Risers
When to use risers is a hot topic. In general, risers have pros and cons that should at least be understood so you can hopefully use them when appropriate. IFMGA Mountain Guide Margaret Wheeler explains in the video below.
Uphill Techniques
Rounded and AVA Turns
As much as possible, try to use rounded and AVA turns while skinning rather than kick turns. If done correctly, they shouldn’t take much effort and allow you to keep your cadence going without having to break stride. In the video below, IFMGA Mountain Guides Jeff Ward and Margaret Wheeler explain both turns.
Kick Turns
Probably one of the most dreaded turns for folks just starting out is the kick turn. These are turns on slopes too steep to use the rounded or AVA turns. There are three types of commonly used kick turns: Tail Jab Kick Turn, Pole Basket Grab, and Windshield Wiper. By mastering the kick turn, you’ll avoid the all too common “V of Doom” and “Tip Dive.” In the video below, Margaret Wheeler demonstrates all three types of kick turns and offers some guidance for how to avoid the “V of Doom” and “Tip Dive.”
Firm Conditions and Improving the Skin Track
In firm conditions, it’s important to engage as much of the skins as possible. Folks have a tendency to lean into the slope when side-hilling. This puts you on your edges and makes it much more likely that you slide out. Instead, roll your ankles downhill to engage more of the skin. Though counter-intuitive, it works like a charm. If you’re in really firm conditions and this technique isn’t working, consider ski crampons.
Ski Crampons
When conditions are so firm that no amount of good skinning technique can get you purchase, ski crampons can be applied to give you that purchase.
Transitions
Up to Down
Keep Heat In
Though you may be warm, now that you’ve stopped, zip up coats and put on another layer to keep that warmth in.
Lock Down Your Boots
Tighten things up for the downhill. Remember to go out of walk mode if you have AT boots.
Rip Skins
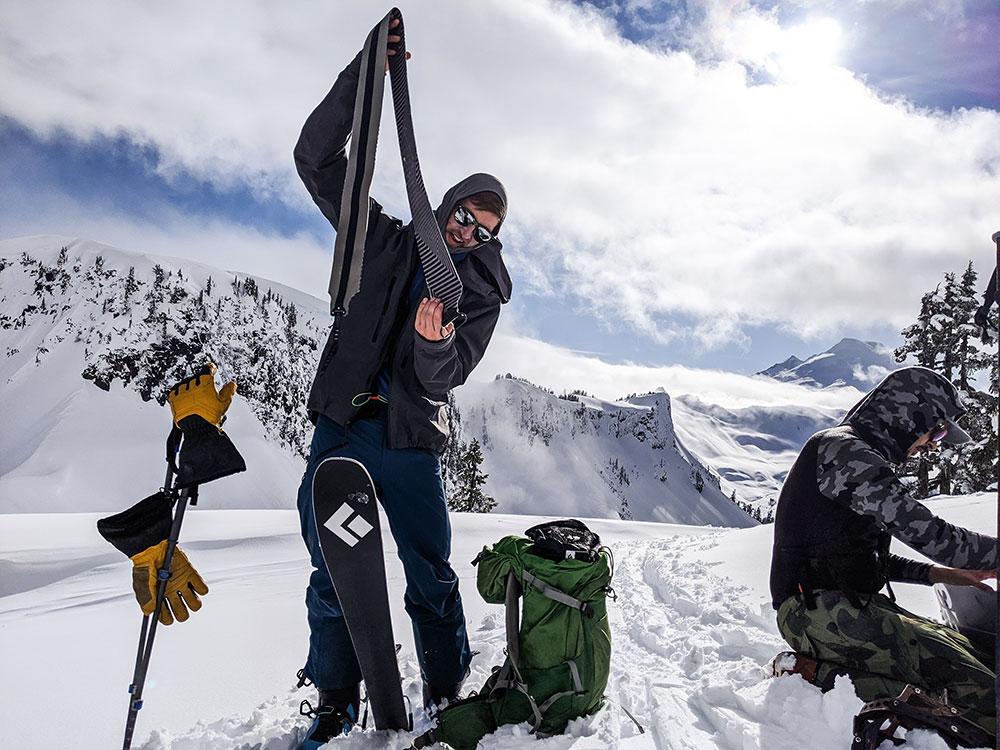
As a skier, learn to remove your skins without having to get out of your skis. This is much more efficient time-wise and also negates the need to worry about some of the troubleshooting and considerations below that occur when you remove your skis. Fold skins glue-to-glue and put them in your bag or, if temps are cold and you’re worried about the glue freezing, put them in your jacket.
Down to Up
Remove Layers
Now that you’re going back up, prepare to get hot again. Take your helmet off and skin in a hat. Put on sunglasses rather than goggles to keep them from fogging up. Also, before totally stripping down, make sure you grab a bite to eat and drink!
Loosen Boots
Loosen your straps for uphill and remember to go back into walk mode.
Re-apply Skins
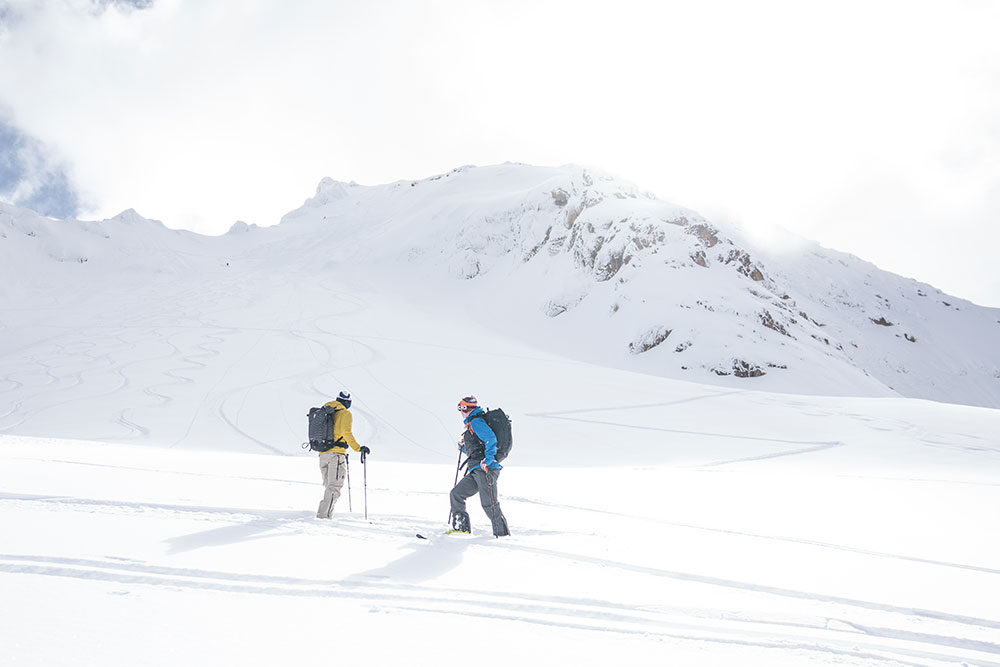
Make sure there is no snow or ice on the skins before you put them back on. If there is snow/ice, run the glue side along the edge of the ski to scrape it off.
Troubleshooting and Considerations
Snow/Ice in Tech Boots
If you step out of your skis to transition, you may get snow/ice built up in the holes where your pins go on the toe of your boots. By stepping back into the binding and moving your foot up and down a few times, the snow should clear.
Snow/Ice in Binding
It’s common for snow to build up underneath the springs on your binding toe pieces, make sure to clear this out by clicking the toe piece up and down multiple times or until clear. If you don’t, you might pre-release from the ski.
Below is a fantastic video by Jeff Ward that summarizes transitions well.
Next Steps
Getting good at these skills takes time, so go out and practice! If you want more hands on mentorship, our one day Intro to Backcountry Skiing Course is a great way to get affiliated with your gear and get feedback on your technique. You can also learn more online. Check out our Ultimate Guide to Backcountry Skiing for all things backcountry skiing and more content like this.
Ski Crampons for
Backcountry Skiing
Ski Crampons for Backcountry Skiing and Riding
With warm temps and long days becoming status quo in the North Cascades, I’m transitioning my ski kit over to spring mode. Once the melt freeze cycle takes hold, one thing I’ve always got on me is a set of ski crampons for backcountry skiing or riding.
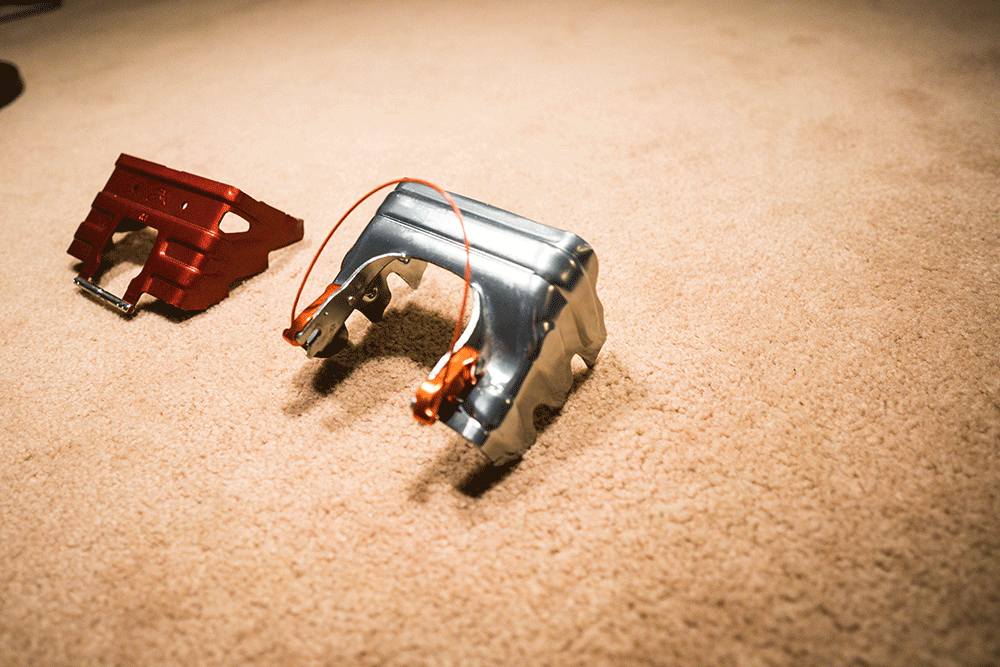
These nifty, little tools can transform an icy skin track or frozen slope from a slippery nightmare into a pleasant stroll. Ski crampons add security to your skis or splitboard while skinning by penetrating the top few centimeters of the snow under the toe of your boot to help prevent slipping backwards or having your edges skate out while side hilling. Here are 5 tips for getting the most out of your ski crampons:
1. Get The Right Pair
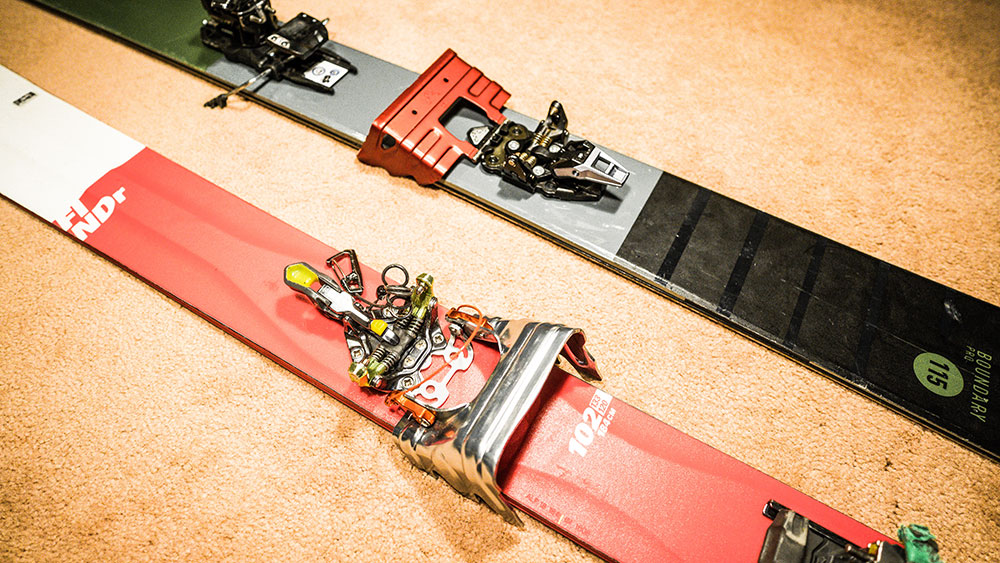
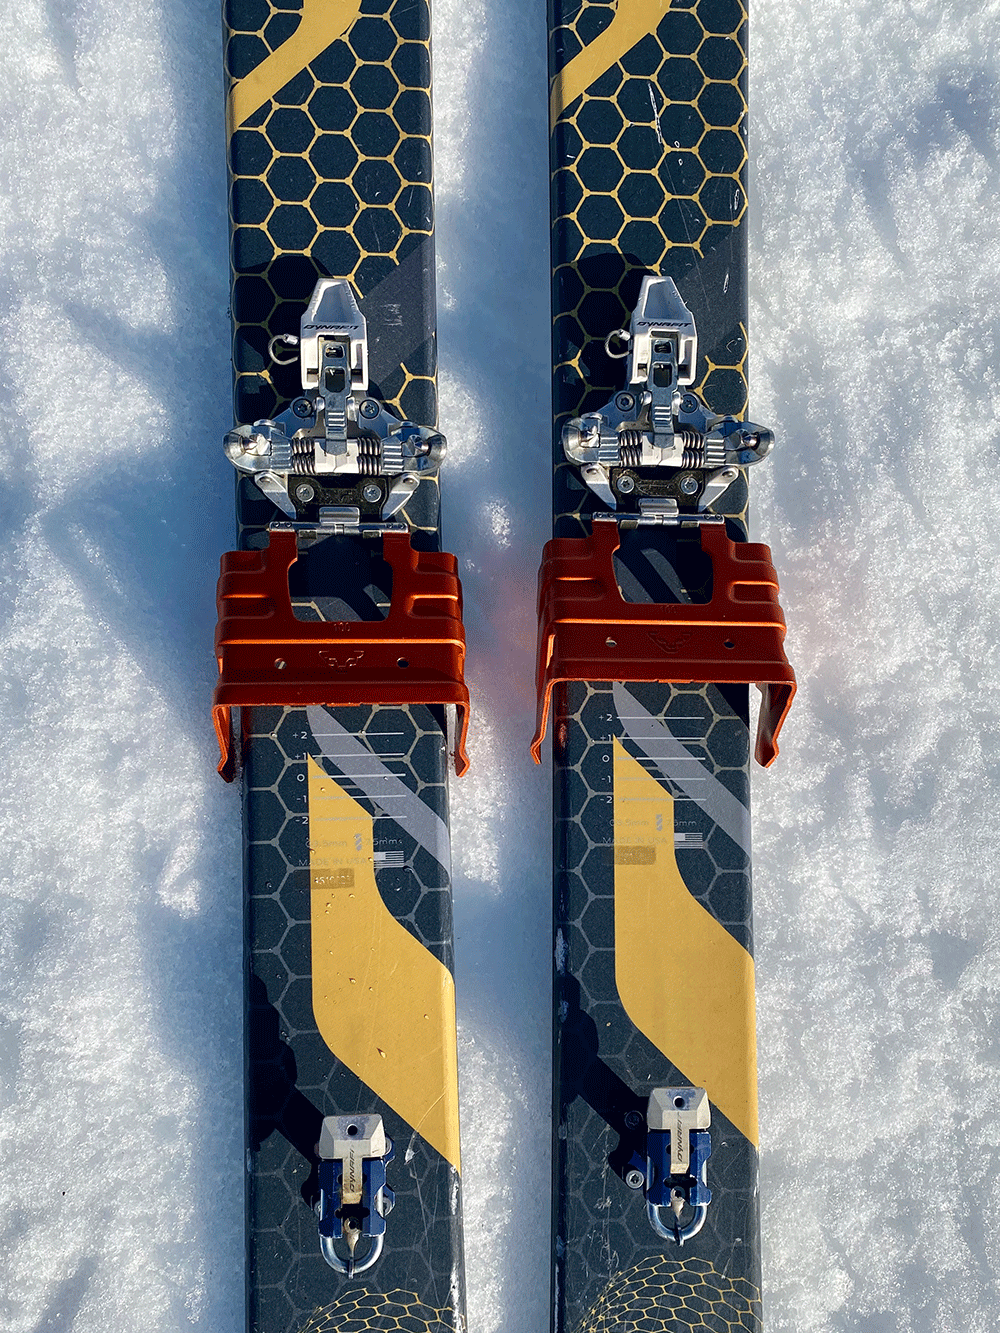
Ski crampons are specific in type to your binding, and in size to your ski or board. First, check with your binding manufacturer about what crampons to get. Many companies have their own system for their bindings. Size wise, they should be the smallest size possible while still being bigger than your ski waist. They usually are sold in 10mm increments, so, for example, if your skis are 96mm underfoot you should get a pair of 100mm crampons.
For splitboarders, Spark R&D and Karakoram make splitboard specific crampons. These work the same as ski specific crampons, but are wider to accommodate board width/asymmetry.
2. Have Them Handy
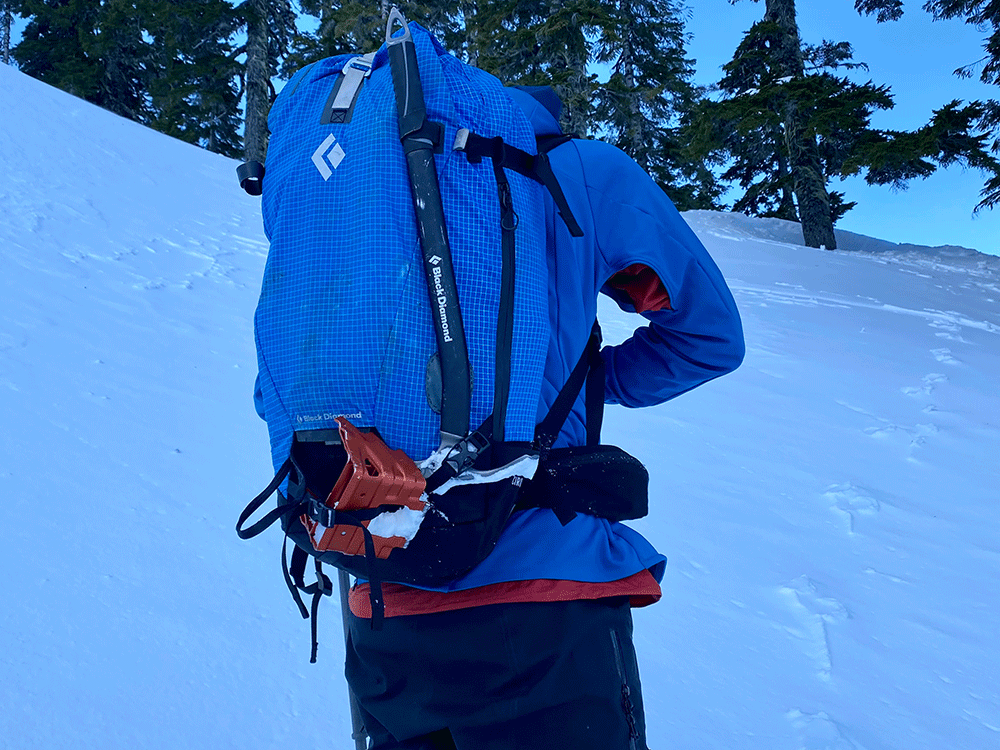
If I think that I might use my crampons, I keep them somewhere I can reach without taking off my pack. I recommend either clipped to a carabiner on your waist belt or clipped to your pack in a reachable spot. Then, if you need to put them on somewhere awkward, you don’t have to worry about your pack sliding away on the icy snow surface. Putting these bad boys on usually takes two hands, unless you have G3’s bindings and Ion Ski Crampons… then you don’t even need to take off your skis.
3. Put Them On (Right) Before You Need Them
Anytime I’m skinning on ice snow I put on my crampons before the slope gets steep. This prevents having to take my skis off anywhere exposed. That said, don’t have them on all the time because they inhibit your ability to glide on lower angle terrain.
4. Leash Your Skis
There are many reasons to put leashes on your skis in the spring. Ski brakes don’t do so well on icy snow, many lightweight ski mountaineering bindings don’t even have brakes, and losing a ski is a bummer at best and could be dangerous for yourself or others below. Since you need to take your skis off to put most crampons on, leash ‘em up!
5. Get The Best Grip
There are two important tricks to get the most purchase out of your ski crampons. The first is to not use any heel risers. This allows your boot to push the crampons as far into the snow surface as possible. It also encourages taking an efficient low angle route. The second trick is to try to keep your skis flat on the snow surface, with your downhill edges dropped toward the snow. This allows both sides of the crampons to dig in, not just the uphill points. This may feel awkward at first but you’ll get used to the motions and will love the added security.
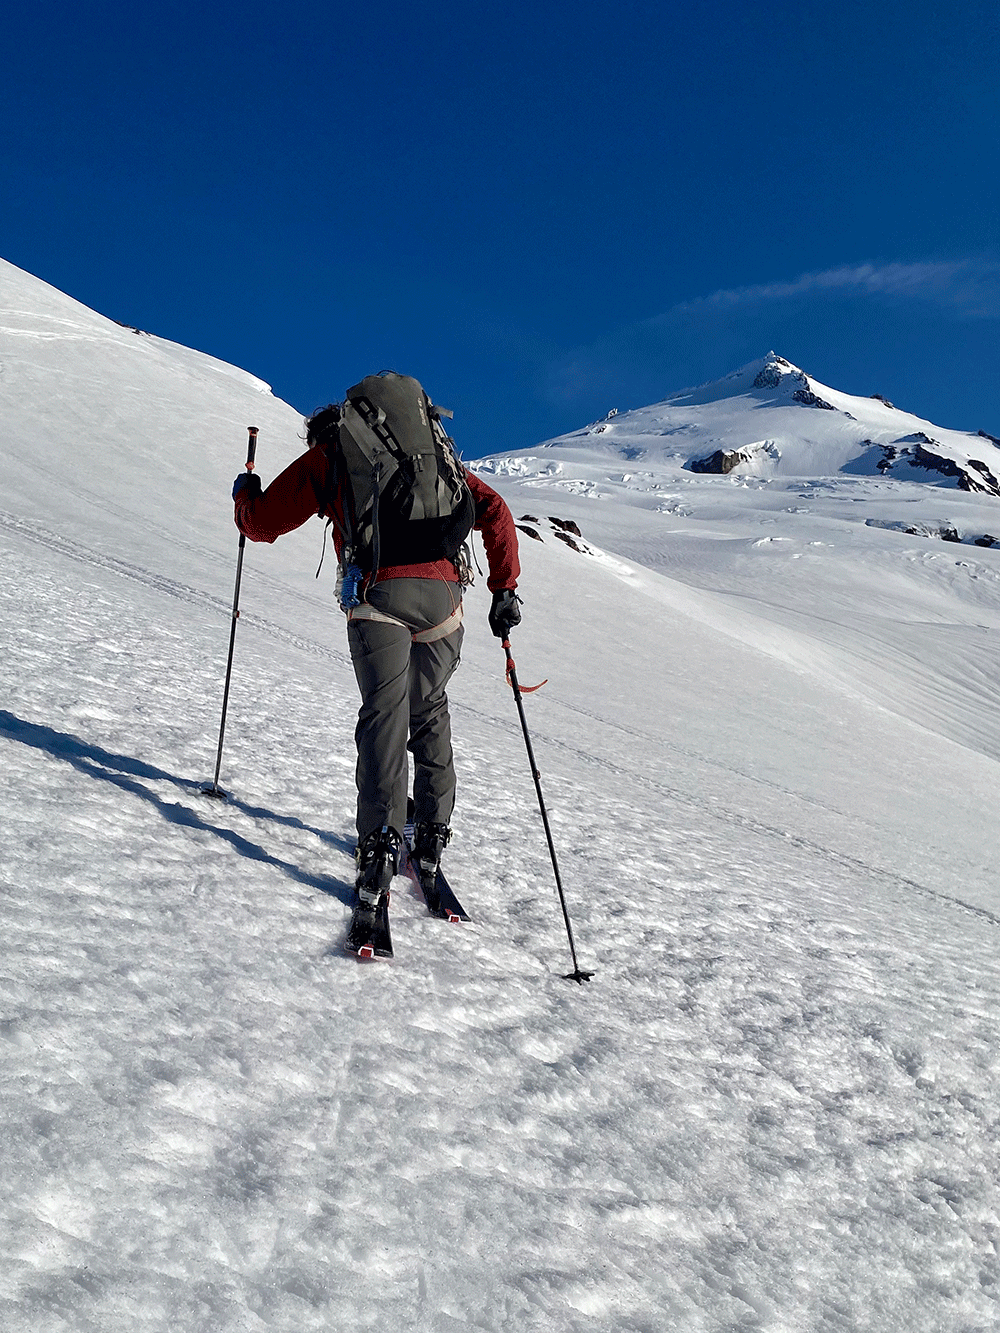
Spring is a great time to do big days and cover some serious ground on firm morning snow on your way to harvest sweet corn. Ski crampons will add efficiency to your ascent and help you save all possible energy for ripping back down to the car. Practice putting them on at home first so your system is dialed before you get out, and enjoy the satisfying crunch of your ski crampons punching through the snow on the way to the top!
Want to learn more? Check out our Ultimate Guide to Backcountry Skiing.